
System Description:
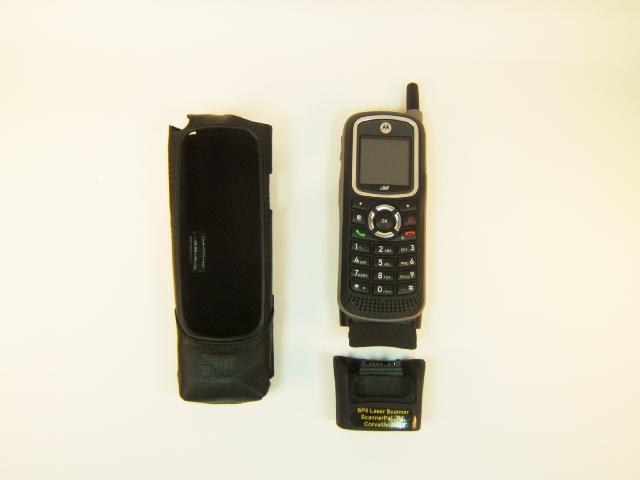
- Please note that the leather case is integral to the design and functioning of the system:
- The scanner cartridge is a loose fit by design, allowing it to fit into all phones, including phones that have been in-service and may have some wear or dents.
- The scanner cartridge will not stick to the phone by itself. Instead, the case is what holds the scanner and phone together, once all components are assembled.
- There is a pocket provided in the scanner cartridge for the phone's rubber connector cover. There is no need for the user to remove the rubber cover from the bottom of the phone; the scanner will fit and work with the cover intact or removed.
- The phone can be charged while it is in the leather case and assembled with the scanner, so there is generally no need to disassemble/reassemble the phone and scanner.
- Repeated assembly and disassembly is discouraged to avoid wear and tear.
- The charge port in the scanner accepts standard ".7mm" cell phone wall and car chargers, both a wall and a car charger are included with each SP5.
- The charge port is flush with the outer surface so that it can accept chargers with plugs of various lengths.
- Charging does not interfere with scanning either physically or electrically, both can be done at the same time.
- Owner's manual: http://scannerpal.com/SP5-365/SP5-i365-i355 Manual.pdf
Assembly:
- Turn the phone completely off until assembly is finished.
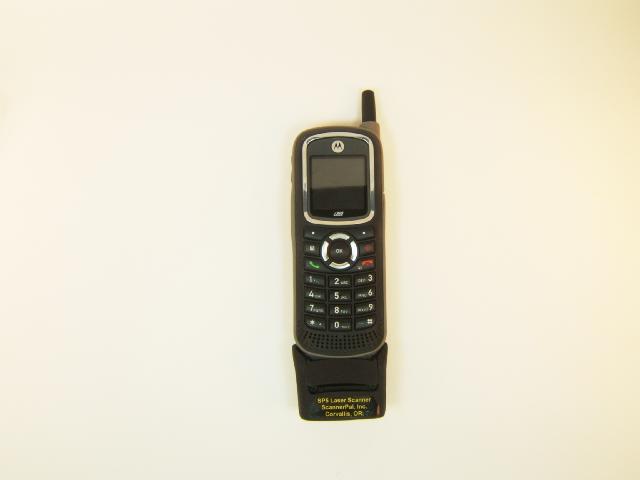
- Engage the scanner cartridge into the bottom of the phone so that the pin plug inserts fully into the phone. Gentle tilting and twisting movements of the scanner cartridge may be needed in order to get the pin plug engaged, depending on phone manufacturing variations.
- Tuck the phone's protective rubber cover into the pocket provided at the top of the scanner.
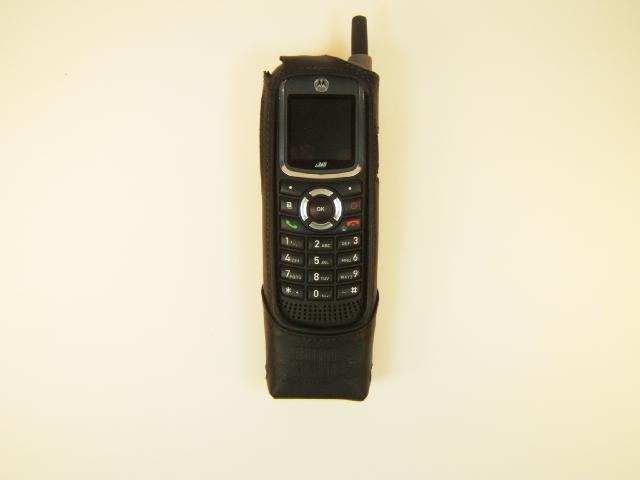
- While holding the rubber cover in place, push assembled phone and scanner assembly down into the case. It's ok if they separate slightly as the assembly is inserted, as long as they are fully connected and engaged when the assembly is complete.
- By design, the case is a very snug fit, you will need to push the phone/scanner assembly down with significant force. You may need push keypad buttons down in order for the screen opening to pass over them.
- Push the phone and scanner assembly all the way down into the case, then pull the top strap snugly over the top of the phone, holding phone and scanner securely and tightly into the case.
|
|
|
|